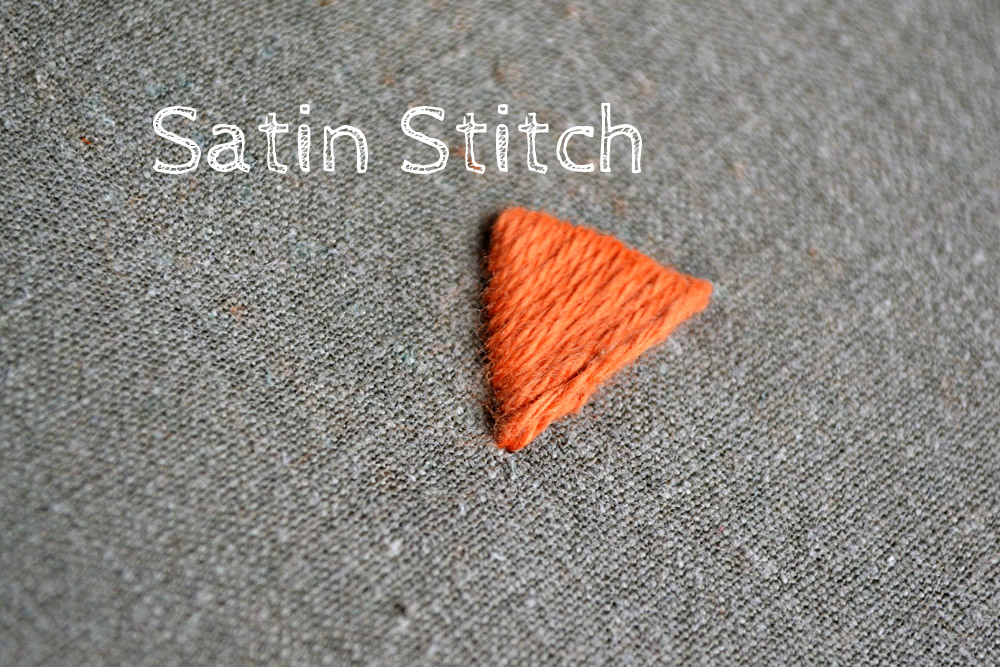
Satin stitch is widely used as a fill stitch. The name comes from the smooth surface similar to the surface of the fabric called satin. The satin stitch consists of parallel usually quite long stitches. There are two possibilities to make the satin stitch. For the first method, you simply mark the shape of your area to stitch and embroidery it following the marks. For the second method, you pre-stitch your shape with a line stitch like back stitch or split stitch and embroider over this. The second method produces a neater appearance and for a beginner is easier to do. The stitched shape is more textured and risen than with the first method.
If you plan to do stand alone shape like the triangle in the picture I would always use the pre-stitching technique while if you want to embroider something with many small shapes side by side it could be better to stitch right away on the fabric.
Here is how it works

1 // Pre-stitch your shape with split stitch or backstitch. Then go to one end of your embroidery.
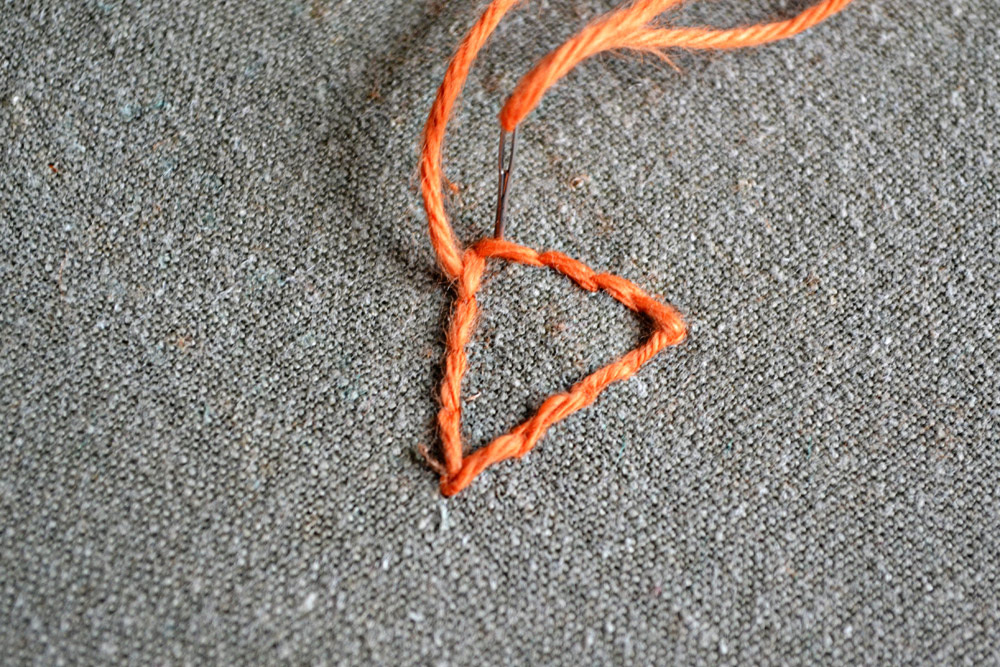
2 // Stick your needle into the fabric directly behind your pre-stitched form.

3 // Stitch out of the fabric on the other side of your embroidered shape.

// Satin stitch looks alike on both sides. If you work in your threads neatly it can create a reversible fabric.
Satin stitch eats a lot of thread if you do it this way.
You may feel the urge to save some thread and instead of stitching both sides of the fabric you’ll want to bring up the needle right next to your previous stitch on the same side where you entered the fabric. This indeed saves ALOT of thread, but it also changes the appearance of this stitch. When you stitch around the shape the thread always lays in one direction. If you alter the stitch and go back and forth on the front only, the thread will look different every other stitch. Also at the entrance point of the threads, the stitch will twist a little bit to the next stitch and form an intermitted ‘U’ with the previous stitch. Especially if you don’t use a pre-stitched shape this often results in a frayed looking edge.
As with all things, which way to go is totally a matter of personal taste!

Do you want more tips and tricks on hand embroidery?
Join the Tutorial Alert! It is a biweekly newsletter that contains information about new tutorials & articles on Pumora, tips & tricks, and promotional content like new embroidery patterns or special discount codes.