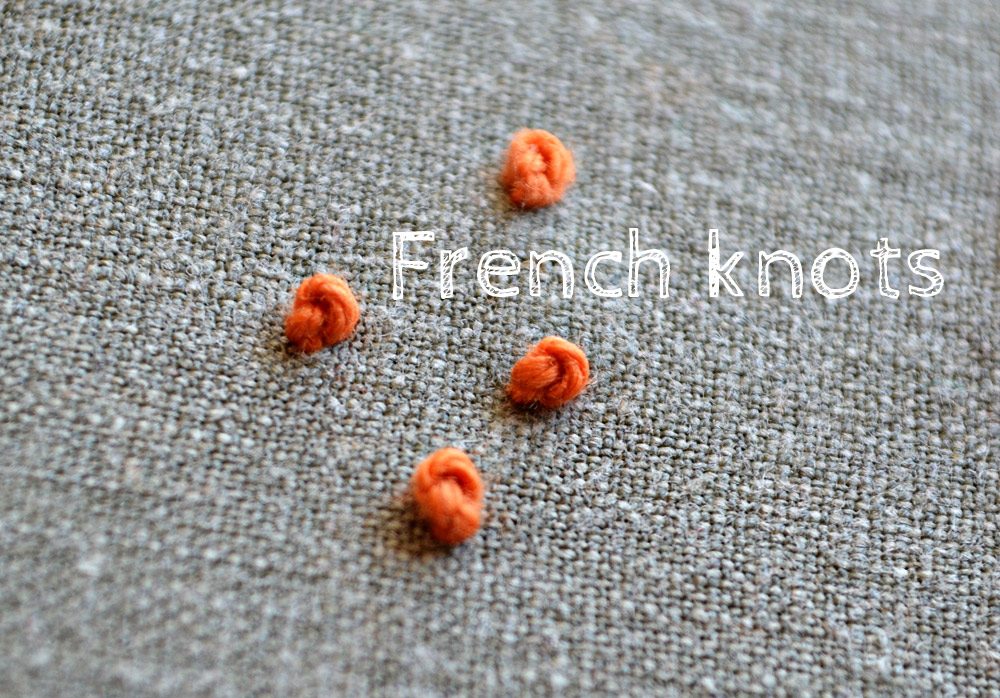
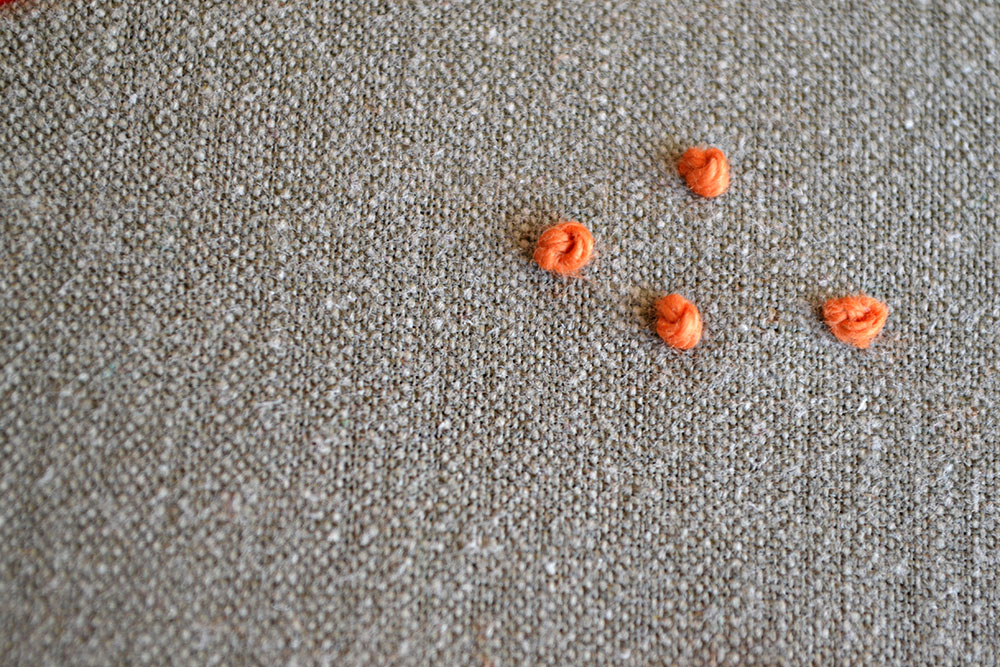
French knots are part of the knotted stitches family and often used to accentuate parts of embroidery. They form a very textured surface if clouded together but look great scattered around, too.
Here is how it works
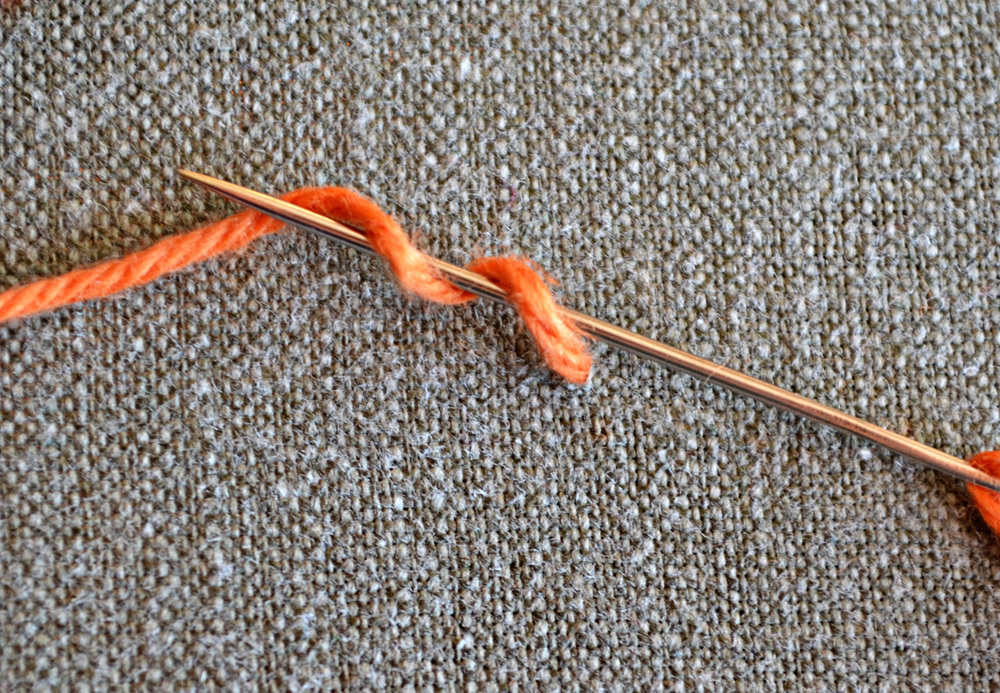
1 // Wrap your thread around the needle twice.
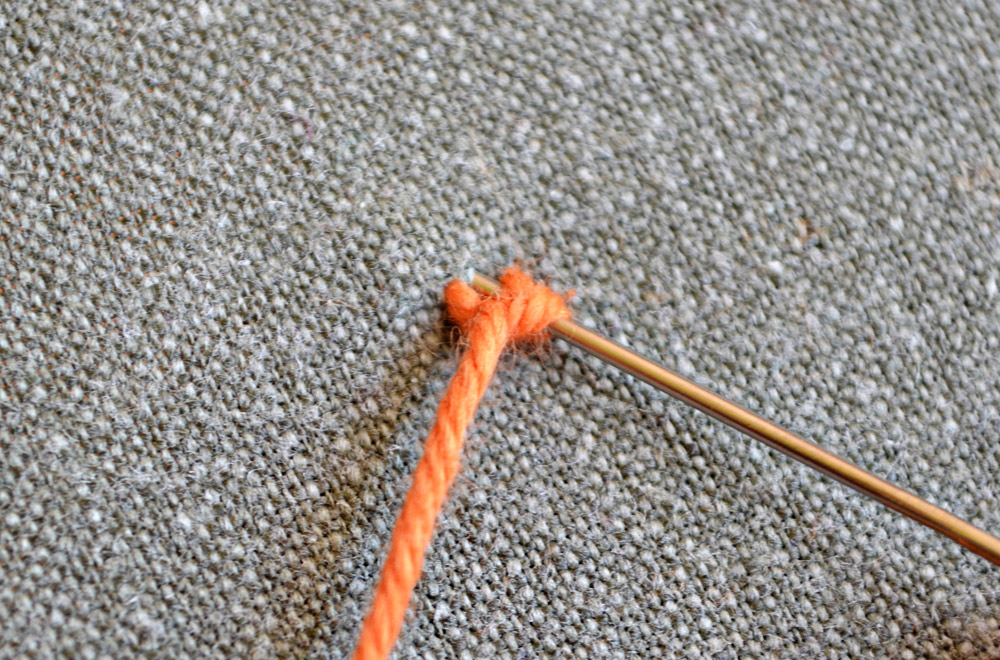
2 // Stick the needle into the fabric right behind the position where your thread comes out. Pull the thread a little bit tighter if your knot is wonky. With your thumb hold the thread in place, with index and middle finger secure the place where the needle comes through the fabric.
3 // Now gently pull the needle through the fabric. Your two fingers under the fabric are there to prevent the knot from slipping through the hole in the fabric. So work slowly, unless you want a wrapped piece of yarn on the back of your embroidery and a little dot on the front.
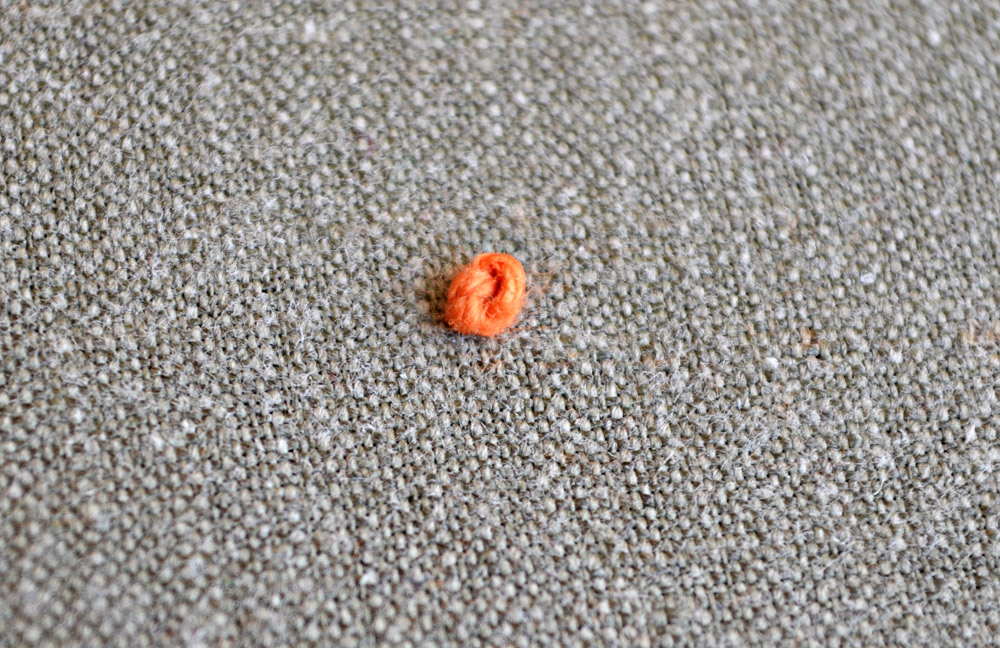
French knots need a little bit of practice to make them evenly every time. There are also a lot of variations and different knots around. Some wrap the thread like an 8 or use more/fewer wraps.
Do you want more tips and tricks on hand embroidery?
Join the Tutorial Alert! It is a biweekly newsletter that contains information about new tutorials & articles on Pumora, tips & tricks, and promotional content like new embroidery patterns or special discount codes.