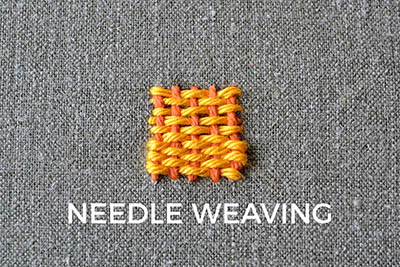
3 day of the 7 days of stitches features a stitch that is experiencing a revival during the last years: NEEDLE WEAVING. Being a cross over between embroidery and weaving, this stitch offers a lot of variations in how you can weave the threads in. I have picked the most basic one to show you the process – the weave stitch. Further below you can see the most popular version – the woven spider wheel – which is used for stitching roses a lot and is very easy to make.
I show two different ways for the weave stitch here. One is more like weaving and the thread that is applied is not attached at the sides. For the other way to make the weave stitch, all stitches are attached to the fabric.
How to do needle weaving
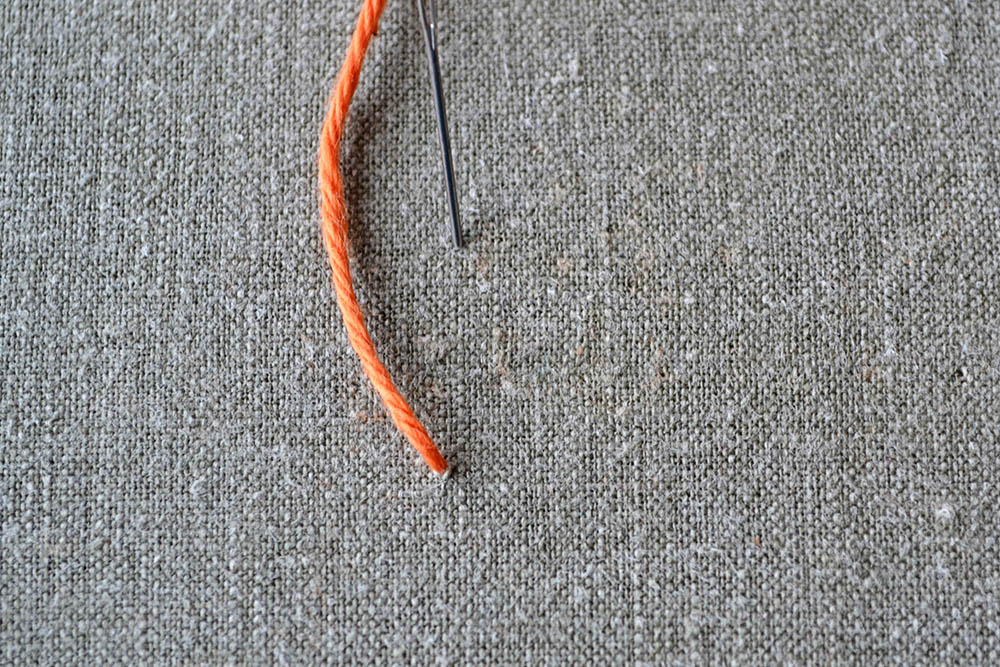
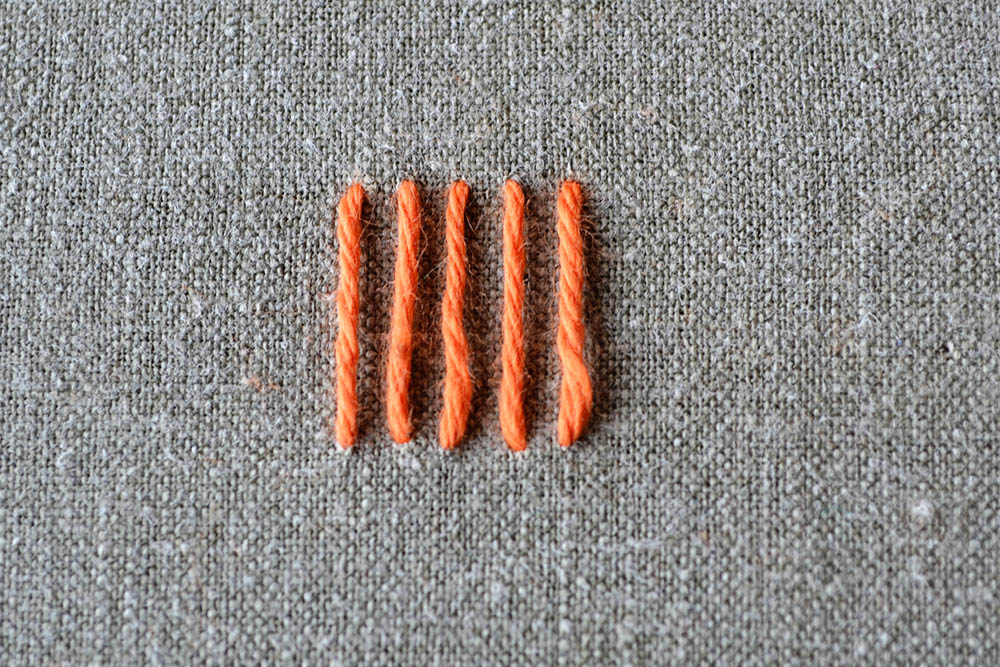
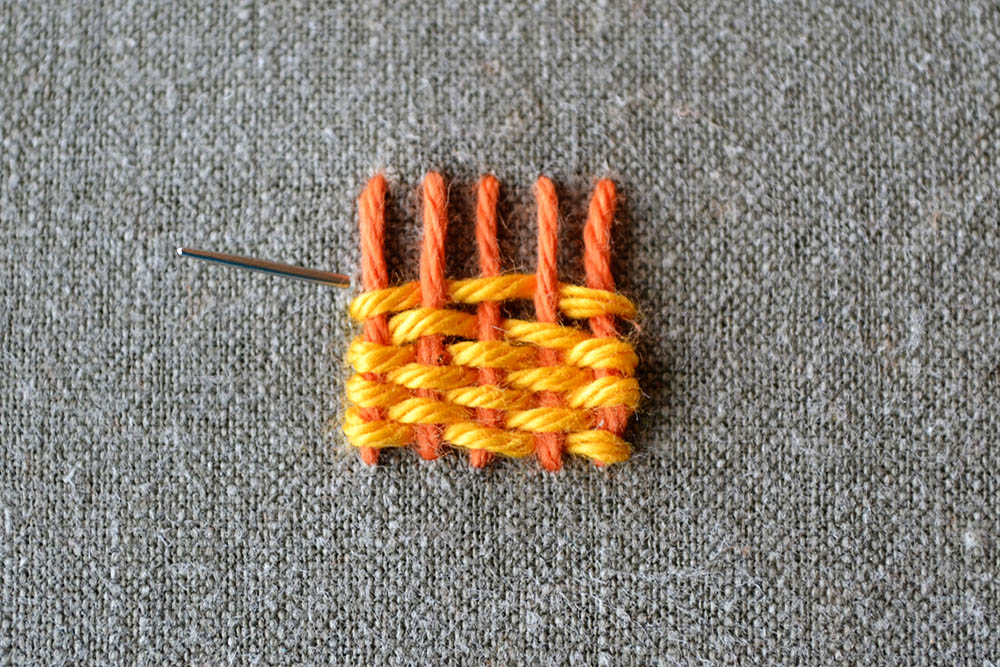
1// Make parallel lines of the width and length you want. This step is equally worked for both methods of the weave stitch.


2A// The unattached method: weave your thread back and forth through the previous stitches. It helps to use a needle with a rounded tip to avoid piercing the threads accidentally. Don’t pull the thread to tight or it will create an hourglass shape instead of a rectangle.

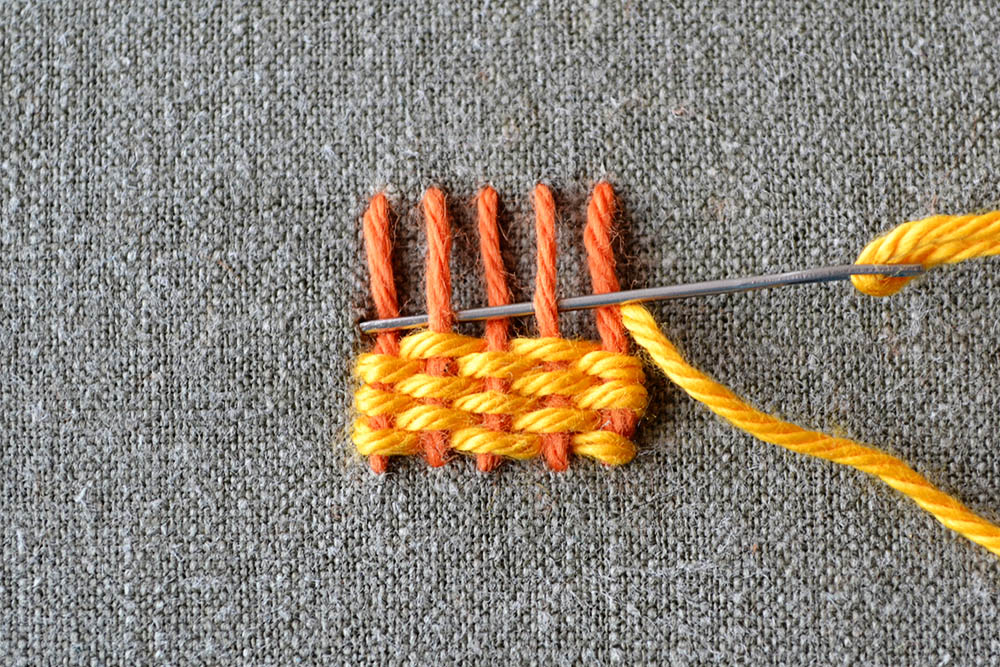
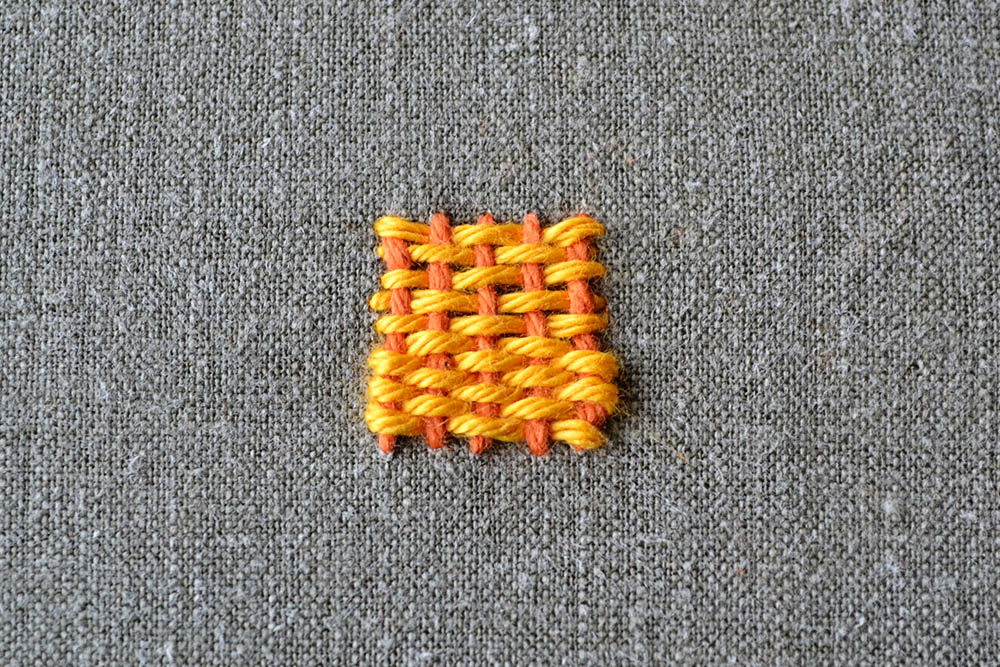
2B// The attached method: weave your thread back and forth through the previous stitches. Then stick the needle in the fabric and up again a little bit further up where the next row of weaving will take place.

Comparison of both needle weaving methods
You might think that both methods are quite alike, but if you look closer there are differences in the outcome. From the side you can see that the unattached method creates a more raised texture while the attached stitches are laying flat. Both methods have their advantages, so choose the look you prefer.

There are many more methods for needle weaving. One is the woven spider wheel mentioned above. It works with the same weaving technique as the stitch above, but it is worked in the round rather than back and forth. You might recognize it:
Do you want more tips and tricks on hand embroidery?
Join the Tutorial Alert! It is a biweekly newsletter that contains information about new tutorials & articles on Pumora, tips & tricks, and promotional content like new embroidery patterns or special discount codes.